Anyone can fill a hole in drywall. The real test is whether you can find the patch afterward. A good repair disappears: same flatness, same texture, same sheen as the wall around it. A bad one shows up as a bump, a halo or a smooth spot every time the light hits it.
Here is how we approach texture matching so a patch vanishes into the wall.
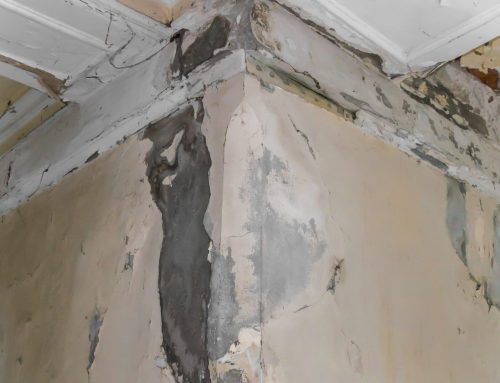
Why Patches Show
- The patch is not flat. A slight hump or dip throws a shadow, especially near windows and ceiling lights.
- The texture pattern is wrong. Splatter too big or too small, too dense or too sparse, or knocked down at the wrong time.
- The surface absorbs paint differently. New joint compound and old painted wall take paint differently, which causes “flashing” — a dull or shiny patch.
- Only the patch gets painted. Even the same paint can look different when touched up on an older wall.
Know Your Texture
| Texture | What it looks like | Matching tip |
|---|---|---|
| Orange peel | Fine, even bumps like the skin of an orange | Thin the mud and adjust the sprayer until the droplet size matches |
| Knockdown | Splatter flattened into mesa-like shapes | Timing is everything — knock it down at the same stage of set |
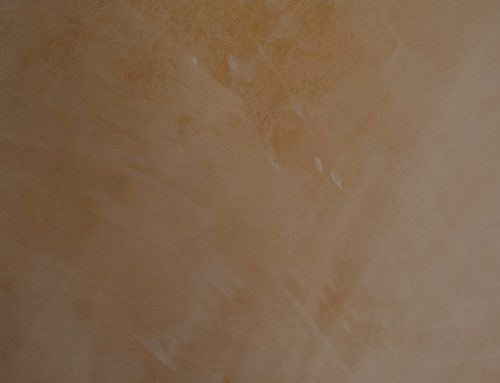
| Skip trowel | Random hand-troweled patches with smooth spots | Match the trowel angle, pressure and spacing by hand |
| Santa Fe | Heavier, layered troweled texture | Build in layers and blend the edges into the old pattern |
| Smooth / Level 5 | No texture at all | Skim coat and sand flat — lighting will reveal any ripple |
Not sure what you have? Our Textures & Finishes page has examples of each.
Our Texture-Matching Process
- Fix the cause. Water leak, doorknob, plumbing access — the reason for the hole gets handled first.
- Make a solid patch. Cut back to sound drywall, add backing where needed, and fasten the new piece securely.
- Tape and fill flat. Multiple thin coats feathered wide so the repair sits in the same plane as the wall.
- Prime the patch. Sealing new compound first helps texture and paint behave like they do on the old wall.
- Test the texture. We dial in consistency and spray pattern on a scrap board before touching the wall.
- Blend the edges. Texture is feathered past the patch into the existing pattern so there is no hard border.
- Prime and paint the whole wall. Painting corner to corner avoids the touch-up halo that gives most patches away.
The secret is not the patch. It is making the edges disappear.
When It Is Hard to Match
- Very old or heavily painted texture can be softened by years of paint and needs extra blending.
- Hand-applied custom textures were never uniform to begin with, so they are matched by eye, not by machine.
- Large repairs sometimes look best when a whole wall or ceiling plane is re-textured for a consistent finish.
Quick FAQ
Can you match popcorn ceiling?
Yes, although many homeowners use a repair as the moment to remove popcorn and go smooth or re-texture the whole ceiling.
Do I need to repaint the whole wall?
For the best result, yes. Touching up only the patch is the most common reason a good repair still shows.
How long does a patch take?
Joint compound needs drying time between coats, so most patch-and-texture jobs span more than one visit or a full day, depending on size.
Ready to Talk About Your Walls?
Above & Beyond Drywall Inc. serves North San Diego County from Vista, CA. Licensed, bonded and insured — CSLB #1083832. Send us a few photos and a short description and we’ll get back to you with next steps.